This article describes how to use Rallly, a tool for efficiently scheduling group meetings.
1. In your browser, go to the following URL
The login screen will appear.
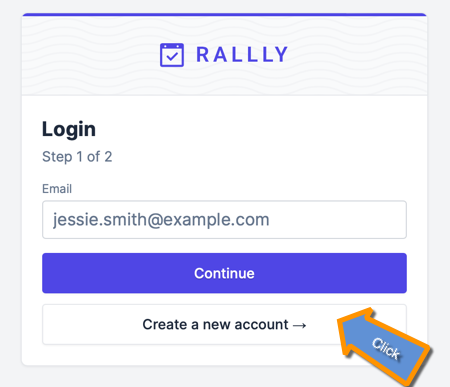
Rallly on this site is set up with Email authentication to avoid SPAM.
- If you have already used Rally on this site, please enter the email you used before and click ["Continue"].
- If you are new to Rally, click ["Create a new account"].
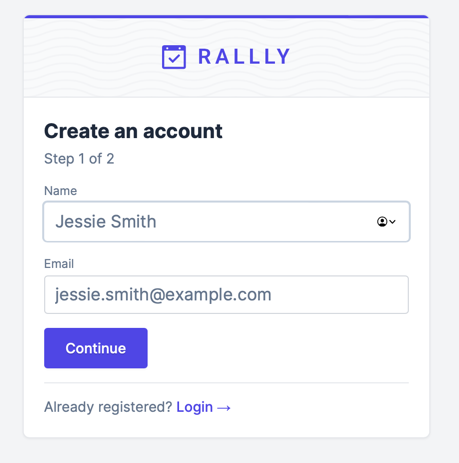
2.1. create a new account if you are a first time user of Rally
- Enter your nickname (which will be displayed when adjusting your schedule) in the Name text box.
- Enter your email address for receiving the one-time password in the Email text box and click ["Continue"].
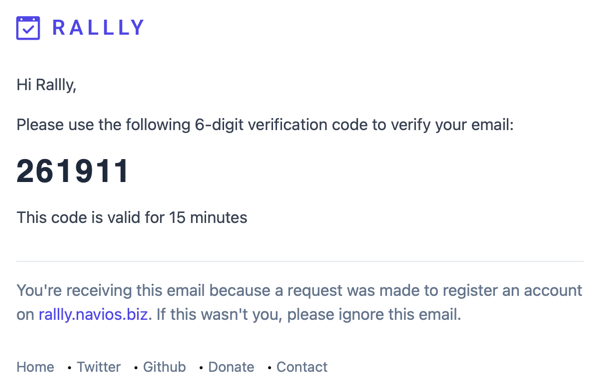
3. Receive a 6-digit confirmation code.
Rallly will send a 6-digit confirmation code to the email address you provided when you created your account. Please confirm the code with your email client.
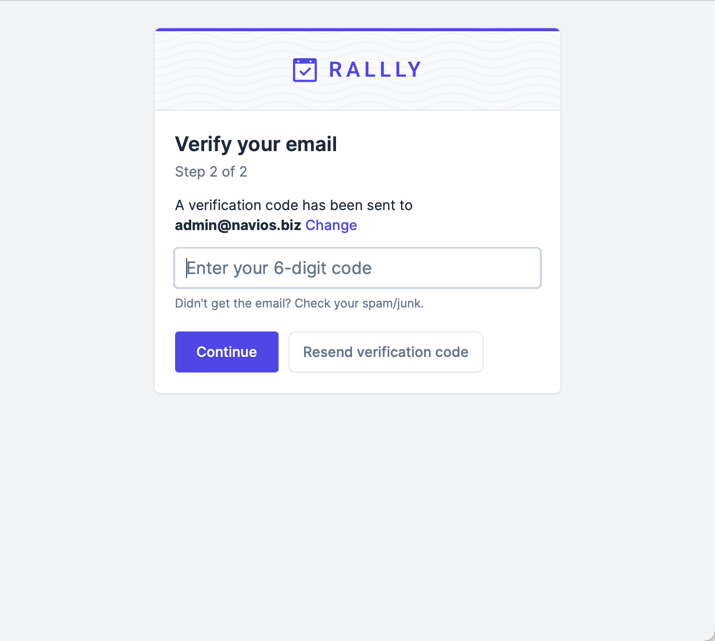
4. enter the 6-digit confirmation code and login
Enter the 6-digit confirmation code in the text box to log in.
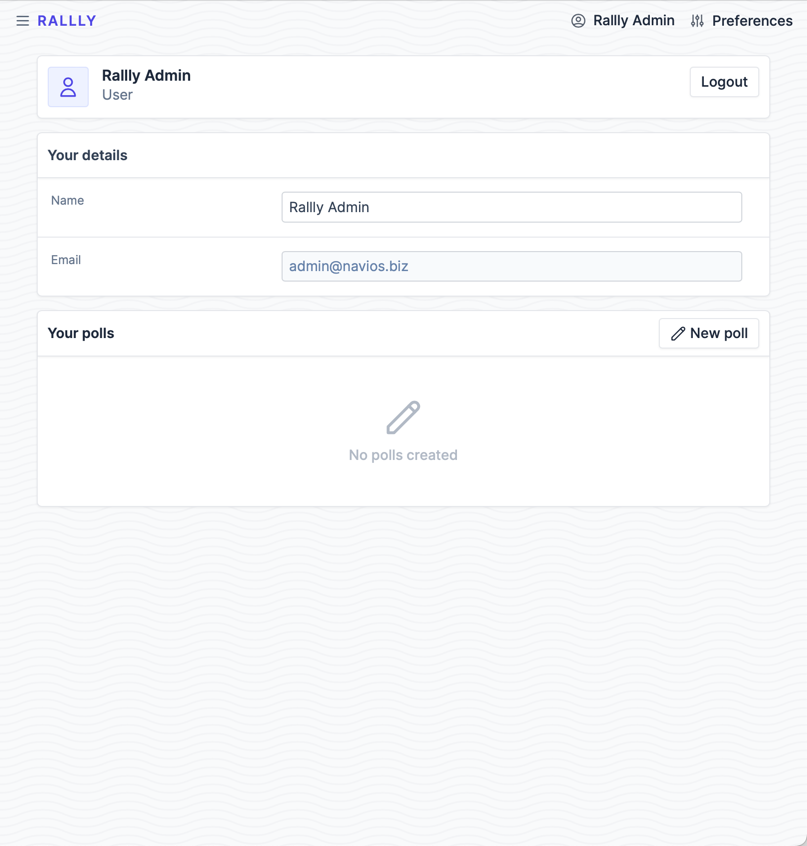
5. Create the event you wish to adjust.
Click ["New poll"] and create the event you wish to adjust.
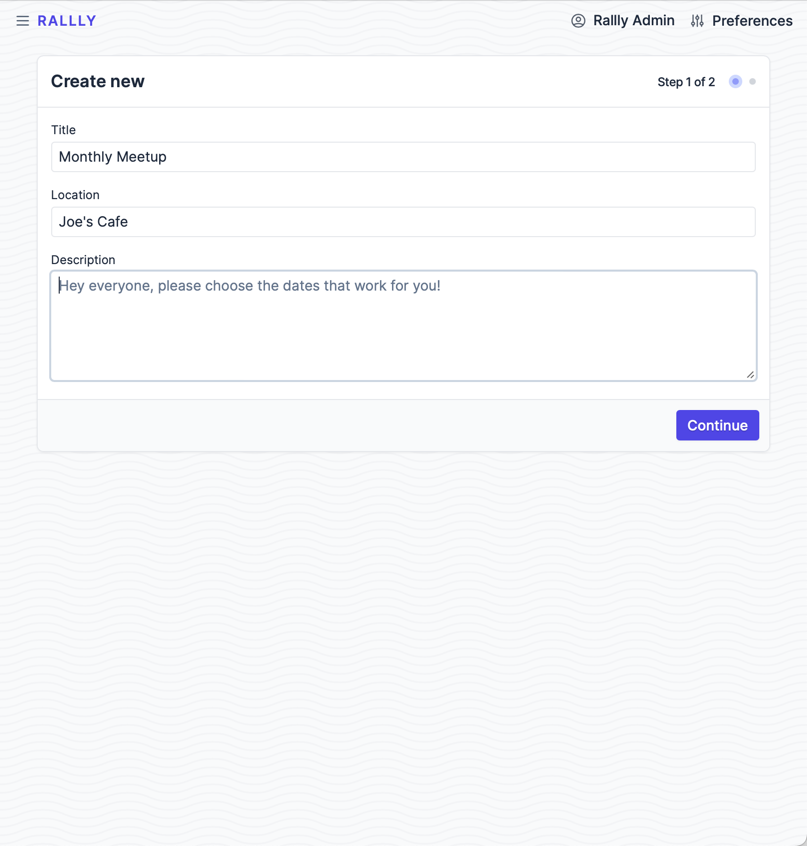
6. Create the event by entering the event title, location, and content.
Enter the event title, location, and content, and click ["Continue"].
Click ["Continue"].
7. Select multiple dates and times in the Week View.
Click ["Week View"] and select the week view, which is convenient because you can select the adjustment time by dragging. Click ["Create poll"] to create an event page for the adjustment.

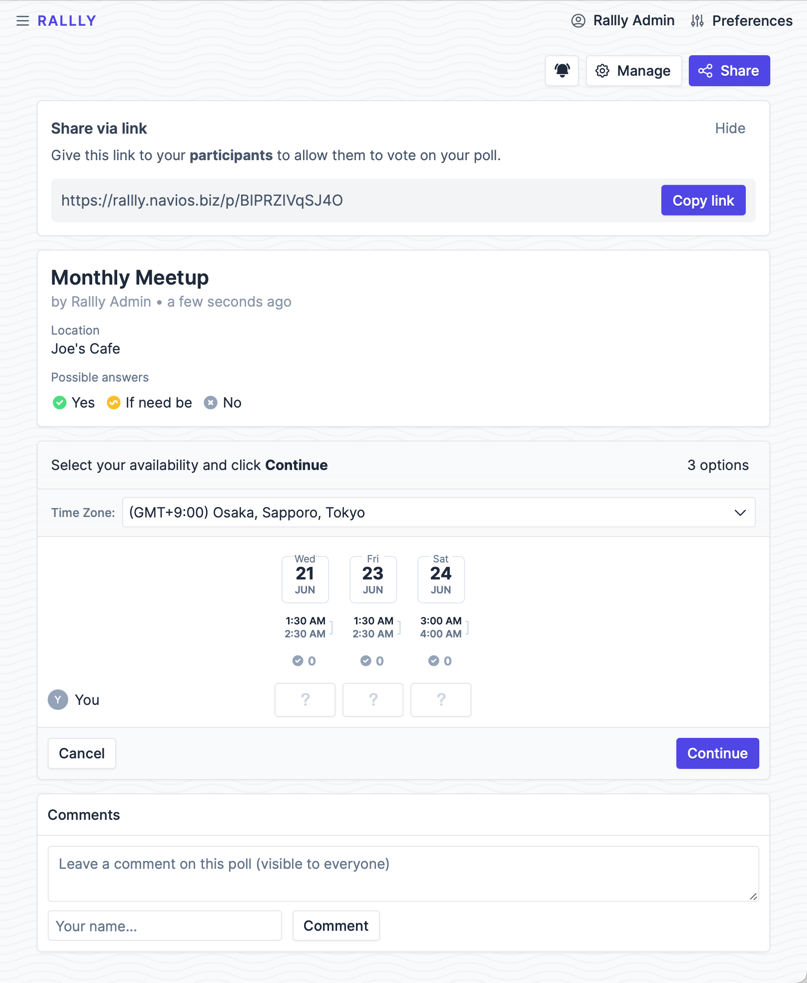
8. share the created event page
The URL of the created event page will be shared to the participants, who will be able to post their participation or non-participation.
For those who want to create highly confidential events such as for internal use
Rallly allows you to limit the account for creating a schedule to a specific domain email. If you provide us with the domain information, we can operate the system on our infrastructure. We will operate it for $5/monthly.
